Trending

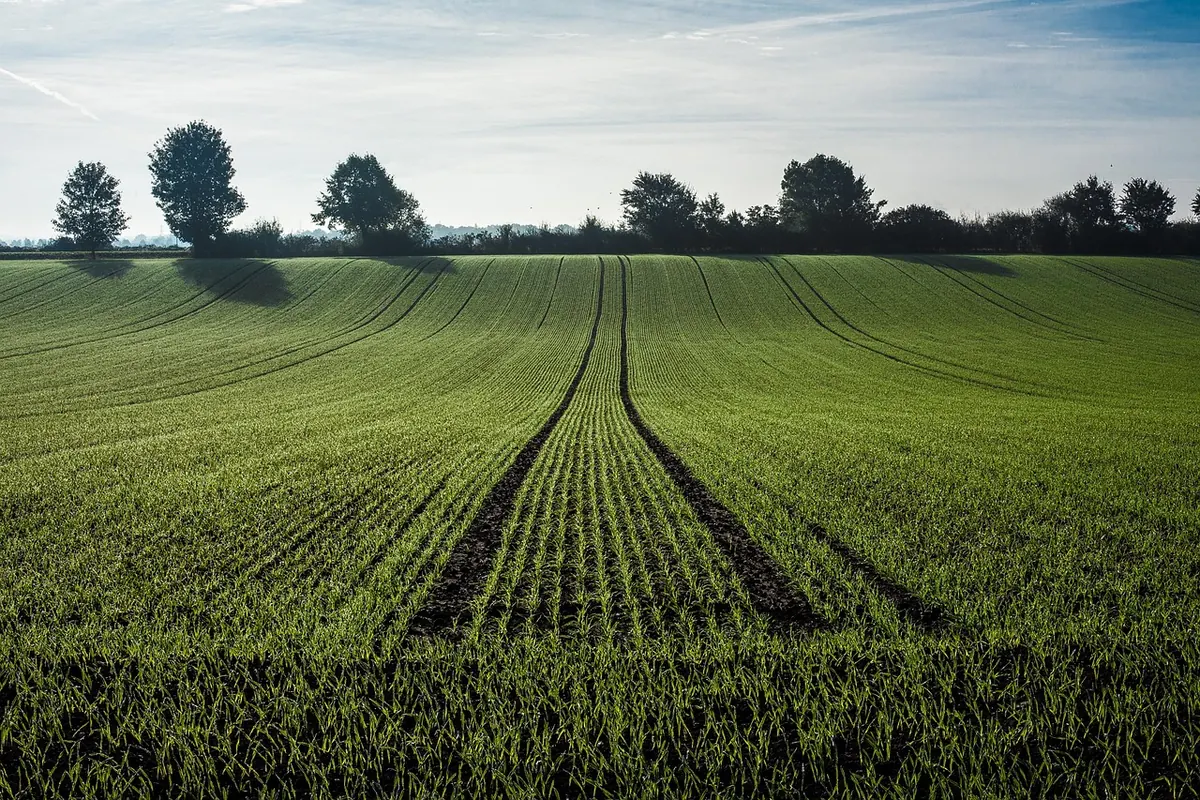
Wheat has a reputation as a crop for wide horizons and big machines, but it started in small patches and it still grows happily in one. A bed four paces long and a metre wide will take you from seed to flour in a single season, and it asks for less attention than tomatoes. Treat it as what it is — a hardy annual grass — and the decisions get simple: a variety that suits your winter, a firm seedbed, enough seed to crowd out weeds, water at the right moments, and a dry afternoon to harvest.
The first fork in the road is winter wheat or spring wheat, and the answer depends on your climate rather than your preference. Winter wheat is sown in autumn, spends the cold months as a low rosette of leaves, and needs a stretch of chilling — vernalization — before it will head up properly. It usually yields more, because it uses the whole of spring. Spring wheat is sown in early spring and ripens in one uninterrupted run; it is the safer choice where winters are severe without reliable snow cover, or where the ground stays wet into autumn.
Within those groups you'll meet hard and soft wheats, red and white, and a growing shelf of heritage varieties. Hard wheats carry more protein and are the ones to try for bread; soft wheats mill finer and suit pastry. Heritage types such as Red Fife or Turkey Red are worth growing for flavour, but they are often tall, and tall wheat lodges — falls over — in wind and rain. In an exposed garden, choose a short-straw variety.
Before you order, ask the seed supplier or your local extension service three things:
Wheat wants at least six hours of direct sun and soil that drains. It will grow on mediocre ground, but it yields on good ground, so dig in two or three centimetres of well-rotted compost a few weeks before sowing and skip fresh manure, which pushes leaf at the expense of grain. A pH around 6 to 7 suits it. If your soil is heavy clay, grow in a raised bed; if it's sand, the compost is doing extra work holding water.
Keep the bed narrow — about 1.2 metres is right, since you want to reach the middle without stepping on the crowns. Firm the ground before you sow. Wheat roots best in a settled seedbed, not a fluffy one; if the bed is loose, water it, let it settle, then rake level.
Winter wheat goes in about four to six weeks before your first hard frost, while the soil is still warm enough for quick germination and the seedlings have time to tiller — to send up side shoots — before growth stops. Spring wheat goes in as early as the ground can be worked; it tolerates cold soil better than most garden crops and resents delay more.
Sow at roughly 15 to 25 grams per square metre. That sounds fussy; translate it into a small handful scattered along an arm's length of row, and err on the generous side, because thick sowing is your main defence against weeds. Rows 15 to 20 centimetres apart make weeding possible; broadcasting over the whole bed and raking it in works too, with a little more seed.
Seedlings appear in a week or two. If a corner stays bare, it's usually birds or dry soil rather than bad seed, so keep the surface damp until the rows close over.
Once established, wheat is drought-tough, but three moments matter: tillering, when the plant decides how many heads to make; heading, when the ear emerges; and grain fill, when the kernels swell. Dry spells at those stages cost you yield. Aim for the equivalent of a good soak a week — roughly 2.5 centimetres of water, more in heat and wind — and water in the morning so the foliage dries before evening.
Feeding should be light. Compost at sowing is usually enough in decent garden soil. If plants look pale and thin at tillering, a modest top dressing of a balanced organic fertiliser will lift them; too much nitrogen gives dark, floppy leaves, weak stems and lodged wheat in the first summer storm. A straw mulch between rows holds moisture and keeps mud off the lower leaves.
Young wheat is a poor competitor for its first six weeks. Hoe or hand-pull shallowly — the roots are fibrous and near the surface — then let the crop shade the ground. After that, dense sowing does most of the work.
Ripening grain attracts birds, and a flock can strip a small patch in days. Netting is the reliable answer; shiny tape and scarers buy a little time and then stop working. Watch for orange or brown pustules of rust on the leaves, and clear volunteer wheat and grassy weeds around the bed, since they carry the disease between seasons. If you find dark, purple-black spurs poking out of heads instead of grain — ergot — cut and bin those heads, and don't use grain from that patch for food.
Harvest when the straw has gone from green to gold throughout, the heads nod, and a kernel resists your thumbnail and cracks between your teeth rather than denting. That dry-kernel test matters more than the calendar. Cut too early and the grain shrivels and stores badly; leave it too long and heads shatter, scattering your crop on the soil.
Cut stems with secateurs or a sickle, leaving 10 to 15 centimetres of stubble, and bundle the stalks into small sheaves tied with twine. Stand or lay them somewhere dry and airy — a shed, a porch, a sheet under cover — for a week or two. Then thresh: rub heads between your palms for a handful, put a bundle in a pillowcase and beat it with a stick, or lay it on a tarp and tread it in clean boots.
Grind in small batches — a hand mill or a coffee grinder will do a cup at a time — because wholegrain flour loses freshness quickly.
Start with two to four square metres. That's enough to learn the rhythm without wasting seed, enough to fill a few jars, and small enough that you'll actually keep it weeded. Write down the sowing date, the variety, the day the heads emerged and the day you cut; those four notes will tell you more about your garden than any general guide.
Expect losses cheerfully. A patch that gives you a couple of kilos of grain is a good first attempt, and next autumn you'll sow with better judgement: a shorter variety if the wind found you, earlier sowing if the frost caught you, more seed if the weeds did.
Photo: Derks24 / Pixabay